 |
Jewelry making supplies from
my daughter's mother-in-law |
In the interest of catching up, I have decided to try and finish up the posts on the craft room remodel this week. So here is an extra post! I hope you all don't mind!
I have a lot of weird things given to me -- sewing notions, old yarn, old pieces of upholstery fabric. Once, I even received an offer to take a partially made afghan. The woman's sister had died and she didn't know what to do with it. She thought maybe I could finish it? She produced some painfully old and dusty crocheted strips (Incidentally, they were very nice work) in purple and green. My crochet skills are not to that level, I was able to say, plus I didn't have the heart to tell her that an afghan takes an incredible amount of time to complete!
 |
Grandma Miller's buttons, along with
some thread given to me recently! |
While I did not take the afghan project, the truth is that most of the time, I do not refuse items such as these. You never know
what you might do with them. The possibilities seem endless. Plus, I grew up with an old Finnish farmer for a father who lived through the Great Depression. He does not throw ANYTHING away. That man has old boards -- older than me -- on his covered patio that he refuses to get rid of. And there is so much more: old nails, pails, bricks, nails stuck in wood, garden spikes, old tomato cages and anything else he is secretly holding.
Oh, and let's not forget the circa 1960's water skiing boat on the side of his house neatly stored on a poured concrete pad. It has been outside, on a trailer and with no cover -- all of my life. Once he had a wife, then kids, the skiing went out the window. Apparently this was too frivolous for a serious baptist family. He is now 85 and the boat is a lost cause, which he will not give up on. No intentions of restoration, either. "Someone will pay a lot of money for that boat!" He says. Then I say, "Yes, me. To have is hauled away." I say this only to myself.
But I digress...
My father keeps everything. He is a
keeper, not a
hoarder. I think some of this rubbed off on me.
 |
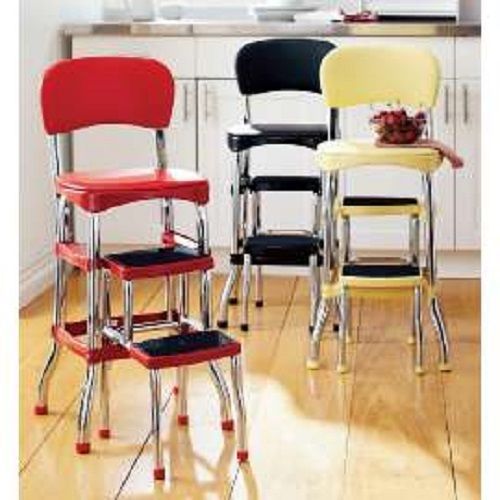
I am pretty sure my dad's boat would look like
this if it had been cared for. |
At work recently, a patient brought me 2
huge old tins of sewing notions left to her by a great aunt who had recently passed: pins, hat pins (some rusty with tetanus), trimmings and buttons. Oh! How I love old buttons! Some were strange and some were lovely and antiquated, some were antiquated, but useless due to damage. All were slightly scratched or tarnished by rubbing against each other for years in those tins. And when you washed them, a curious green film came off onto your hands. I hope it was from tarnished copper buttons living in the tins with the other buttons...
I happen to also have some button tins of my own, left to me by my grandmother, Grandma Susanna Miller, who died at 92 years of age when I was 25. That was in 1995. I usually don't even dare to think of using my buttons for fear that once I do, they will be gone forever. I generally can't bear the thought. It's like losing her all over again.
So they stay in their tins--
without mysterious green residue.
After looking and looking, and handling and examining the buttons from my patient--and washing my hands with
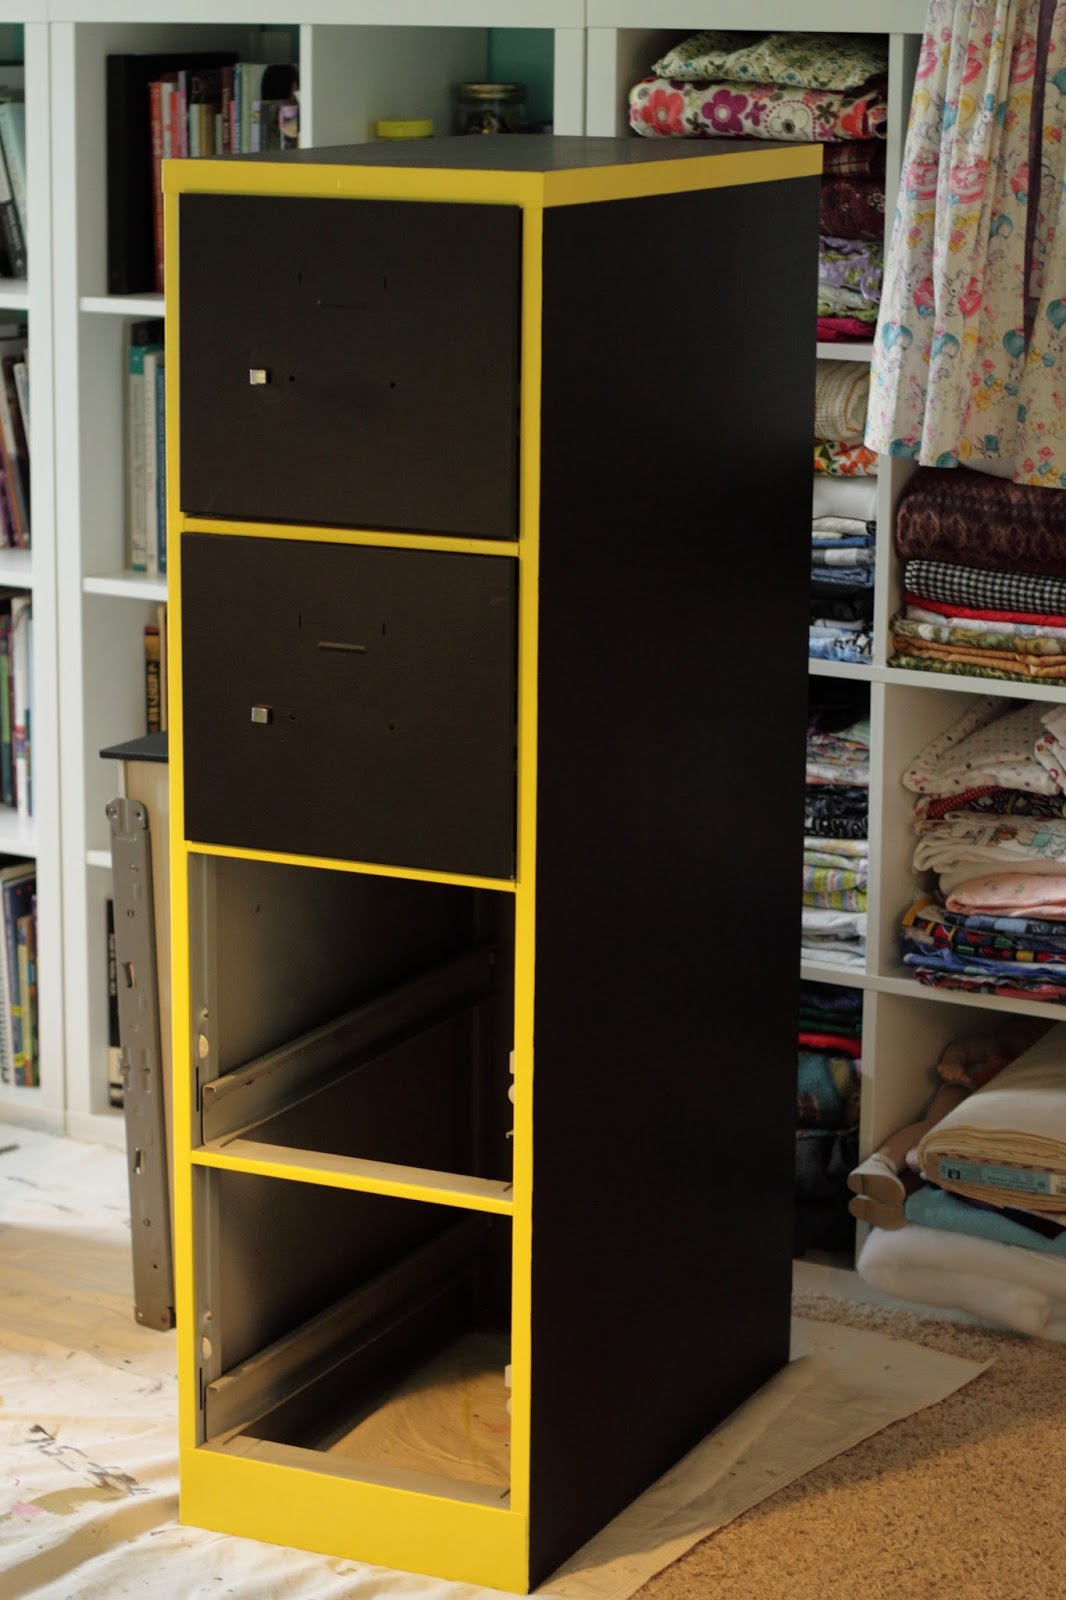
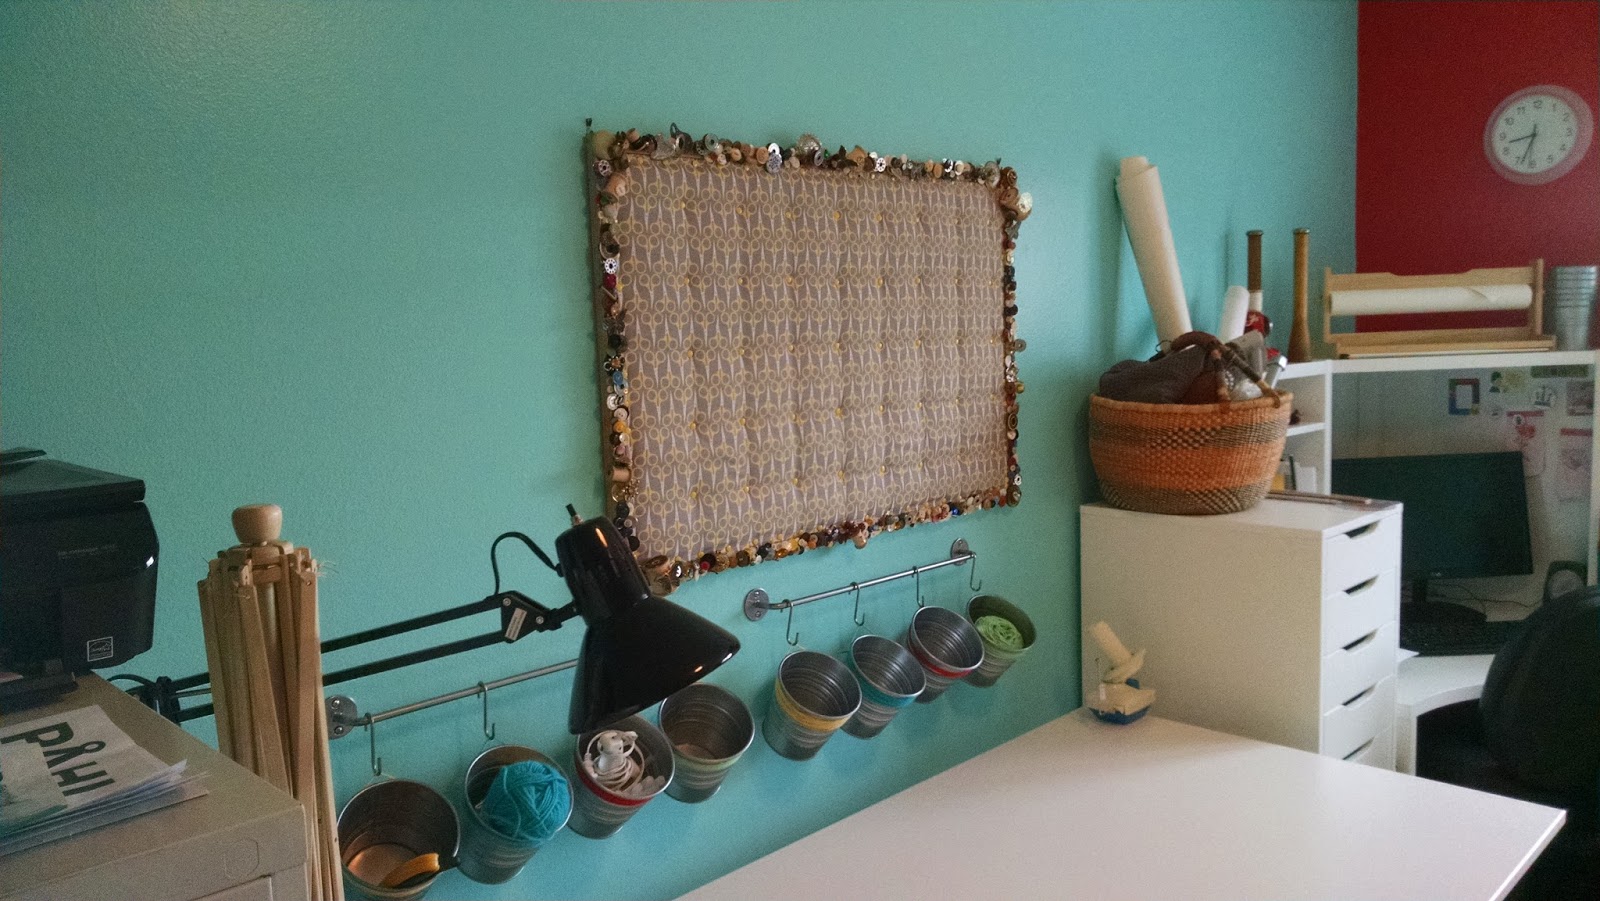
Boraxo--I had an idea. The old, crappy corkboard I had in the closet could be made over. I was keeping this for a few years after Alex left home and moved to Bend. Like my father, I thought I could use it.
 |
| Note the fabulolus art work on the cork. It was just too big and, I believed, too useful to throw away! |
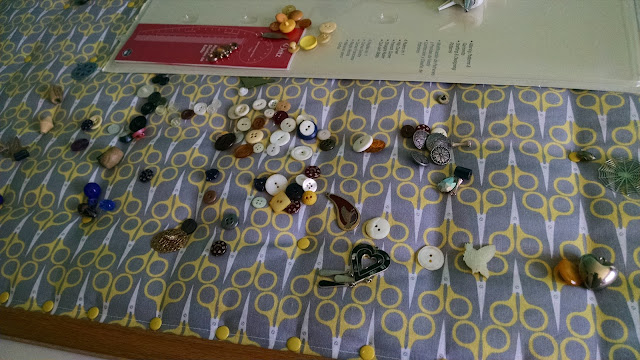
The cork seemed a little dry, if that is possible, and there was kid writing all over the board. I popped over to the fabric store, got a little piece of clearance fabric with a sewing theme. I had a little bit of batting. To the two old tins from my patient, I added some old broken jewelry I had, along with some old jewelry and beads given to me by my daughter's mother-in-law, and yes, a few of my grandmother's buttons.
This made a fun assortment of things that resembled a scene from an
Eye Spy book.
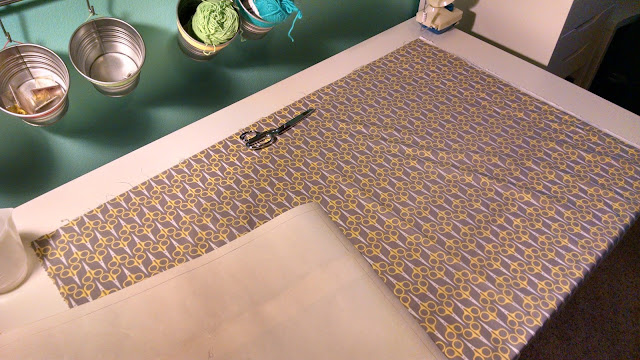
I pulled out some very old bias tape from my grandma's stash (I have a lot of her stuff--I was the only granddaughter and loved to sew with her!) and whipped out some paper from a roll I originally bought (from IKEA, yes, my shame is great....) for the kids to draw on. Now, it was for a little pattern drafting.
I measured the stinky teenage boy bulletin board, just the cork part. Then, I used a cutting wheel to cut out a piece of batting. I drew a rectangle on the paper, with a small seam allowance for the fabric. I thought it would be a nicer finish if I hemmed it and I added the biased tape to the hem for stability.
 |
| A roll of IKEA paper and some clearance fabric from JoAnn's |
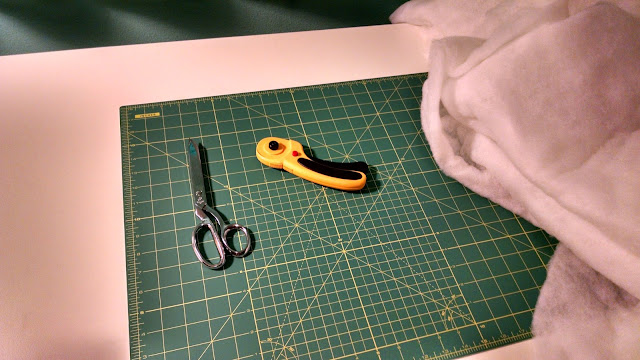 |
| You quilters have some very awesome tools!! I had to have a couple--and I use them all the time! |
 |
| A perfect cut from the scary sharp cutting wheel! |
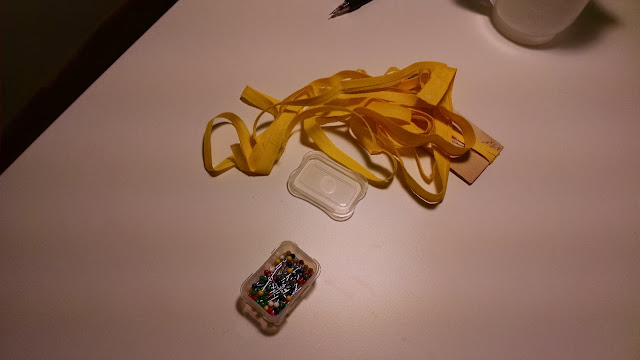 |
| Grandma's bias tape. I won't even venture a guess on how old this is. |
 |
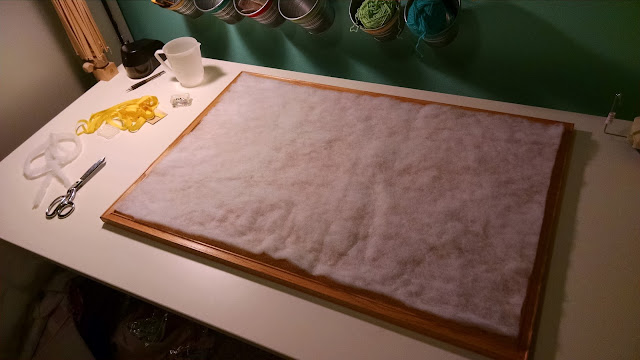
| So much to put on such a big frame!! Get the hot glue! |
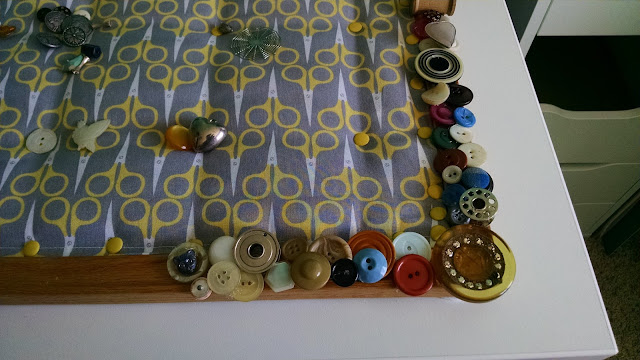 |
| The large, yellow button on the lower right corner is beyond repair or use for a garment, but it sure is cool! |
 |
| The scotty dog was my favorite brooch as a child. I used to wear it on my coat. His back broke off long ago, but I couldn't bear to part with him. |
 |
All done! I feel like there should be a list of things to find on this thing!
Can you find:
20 wood spools, a metallic dog, a broken key chain and a little green frog (at least, I think there's a frog). 100 white buttons, a silver web, an old belt buckle and 5 spools with old thread. |
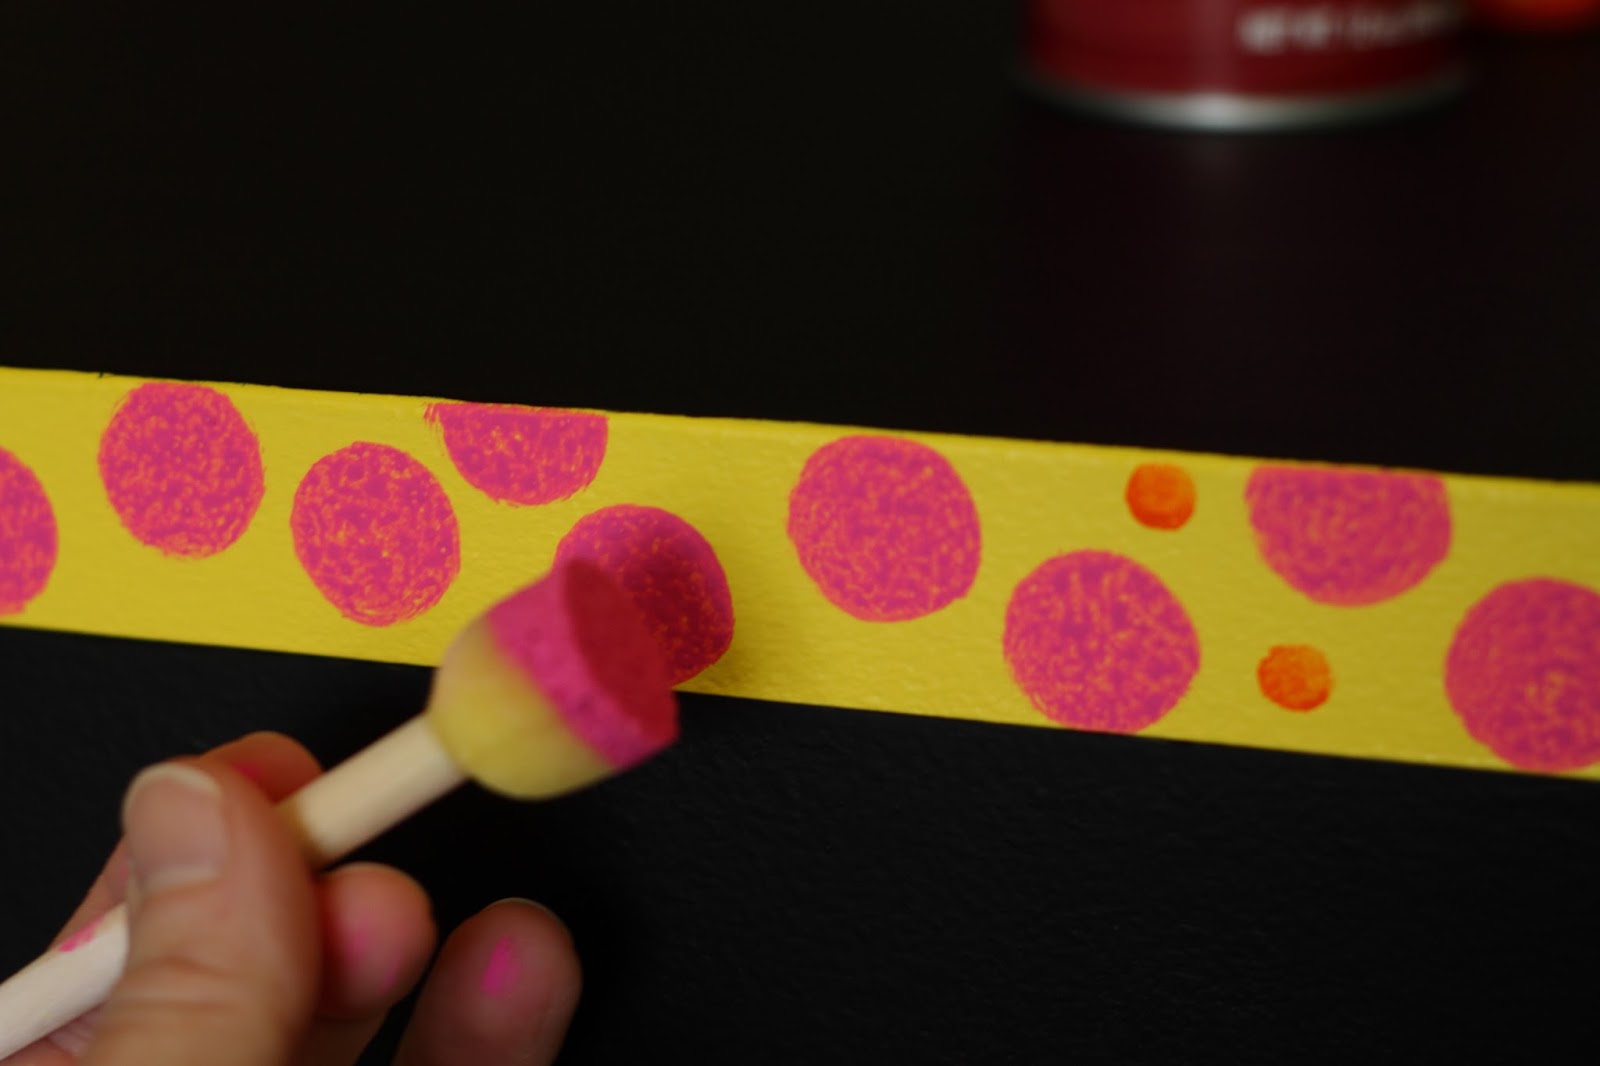
I had not really planned out how I was going to secure my cover for the ugly bulletin board, so I thought about how cute upholstery pins are. I went to the local hardware store and found some odd yellow thumbtacks. They matched my fabric, why not? So I brought those home and pinned them all around the board, securing it to the corkboard. It didn't look quite right, so I measured out little boxes with a clear quilting ruler ( I don't quilt, but I love their useful supplies!) and put the yellow tack on the board, "quilting" it.
Then, came the hot glue; tons and tons of hot glue. I enlisted my patient daughter, Annie, who is a student at the Vancouver School of Arts and Academics (VSAA) to help with placing and gluing all the tiny items onto the frame of the bulletin board. She has a good eye for composition!
This part took quite a while. I even had to buy a new hot glue gun--plus a lot more glue sticks. Mine had never seen so much action in all its years with me
combined and it got so sticky that it became unusable.
When it was done, it looked more like a walk down memory lane -- my memories plus the memories of others. It doesn't totally
match my craft room concept, and maybe someday I'll pass this project to my daughter Jo, who longs for a room of
her own and make a bulletin board that more matches my 50's kitchen concept. Or maybe I'll change the fabric and add more red to the frame -- there is room.
But for now, I really enjoy looking at the new bulletin board and taking a little walk down the lane of memories.
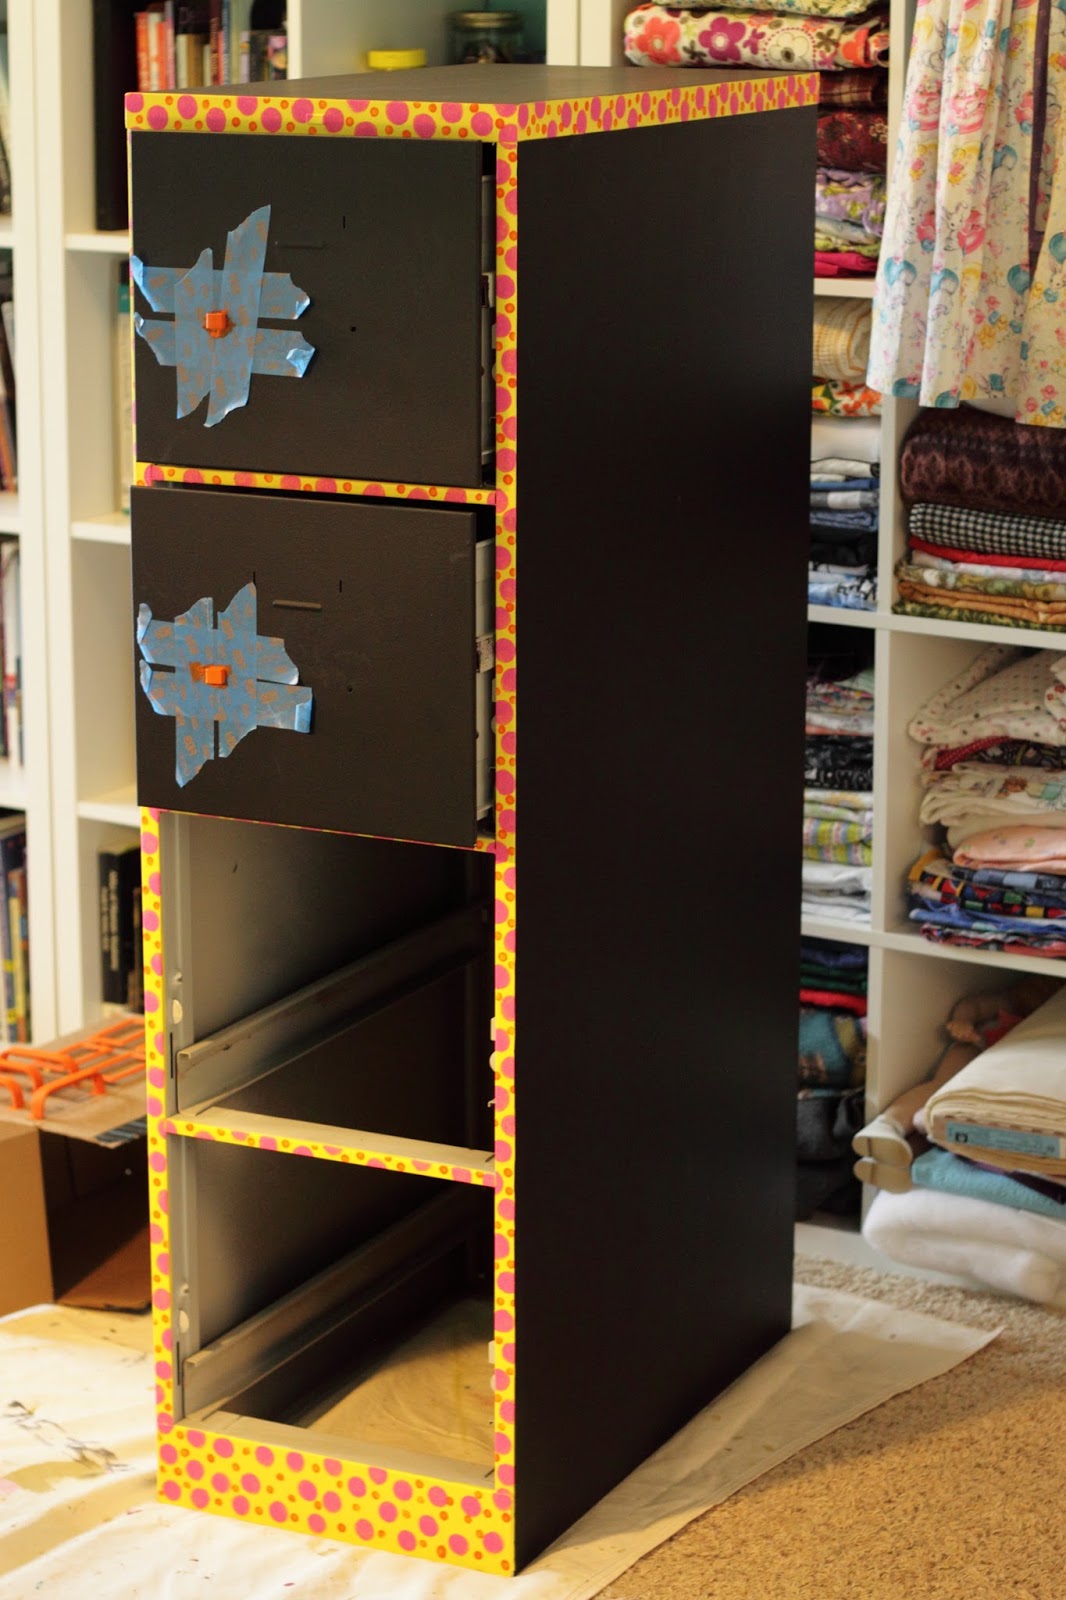
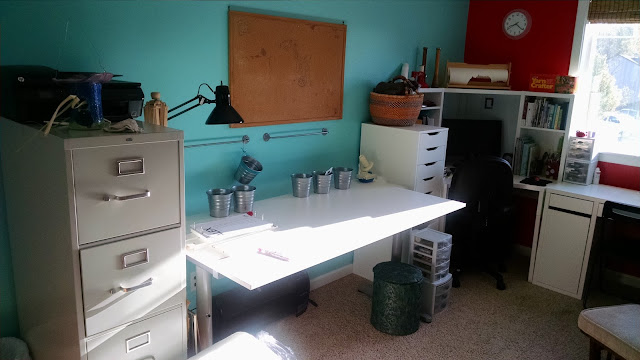 |
| Before |
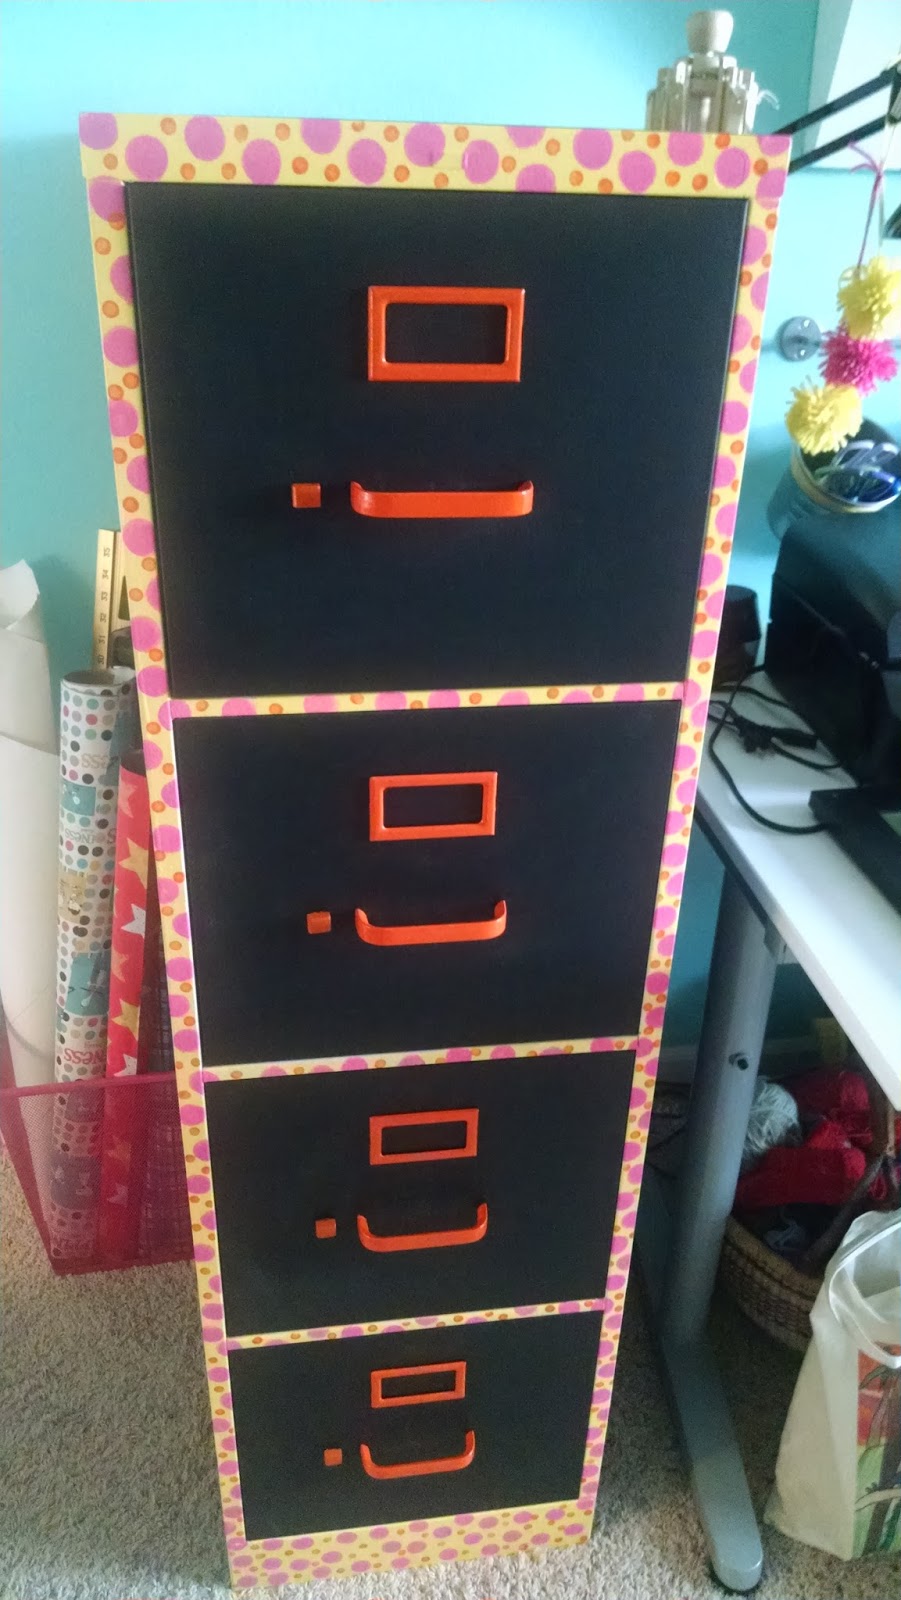
 |
| After! |
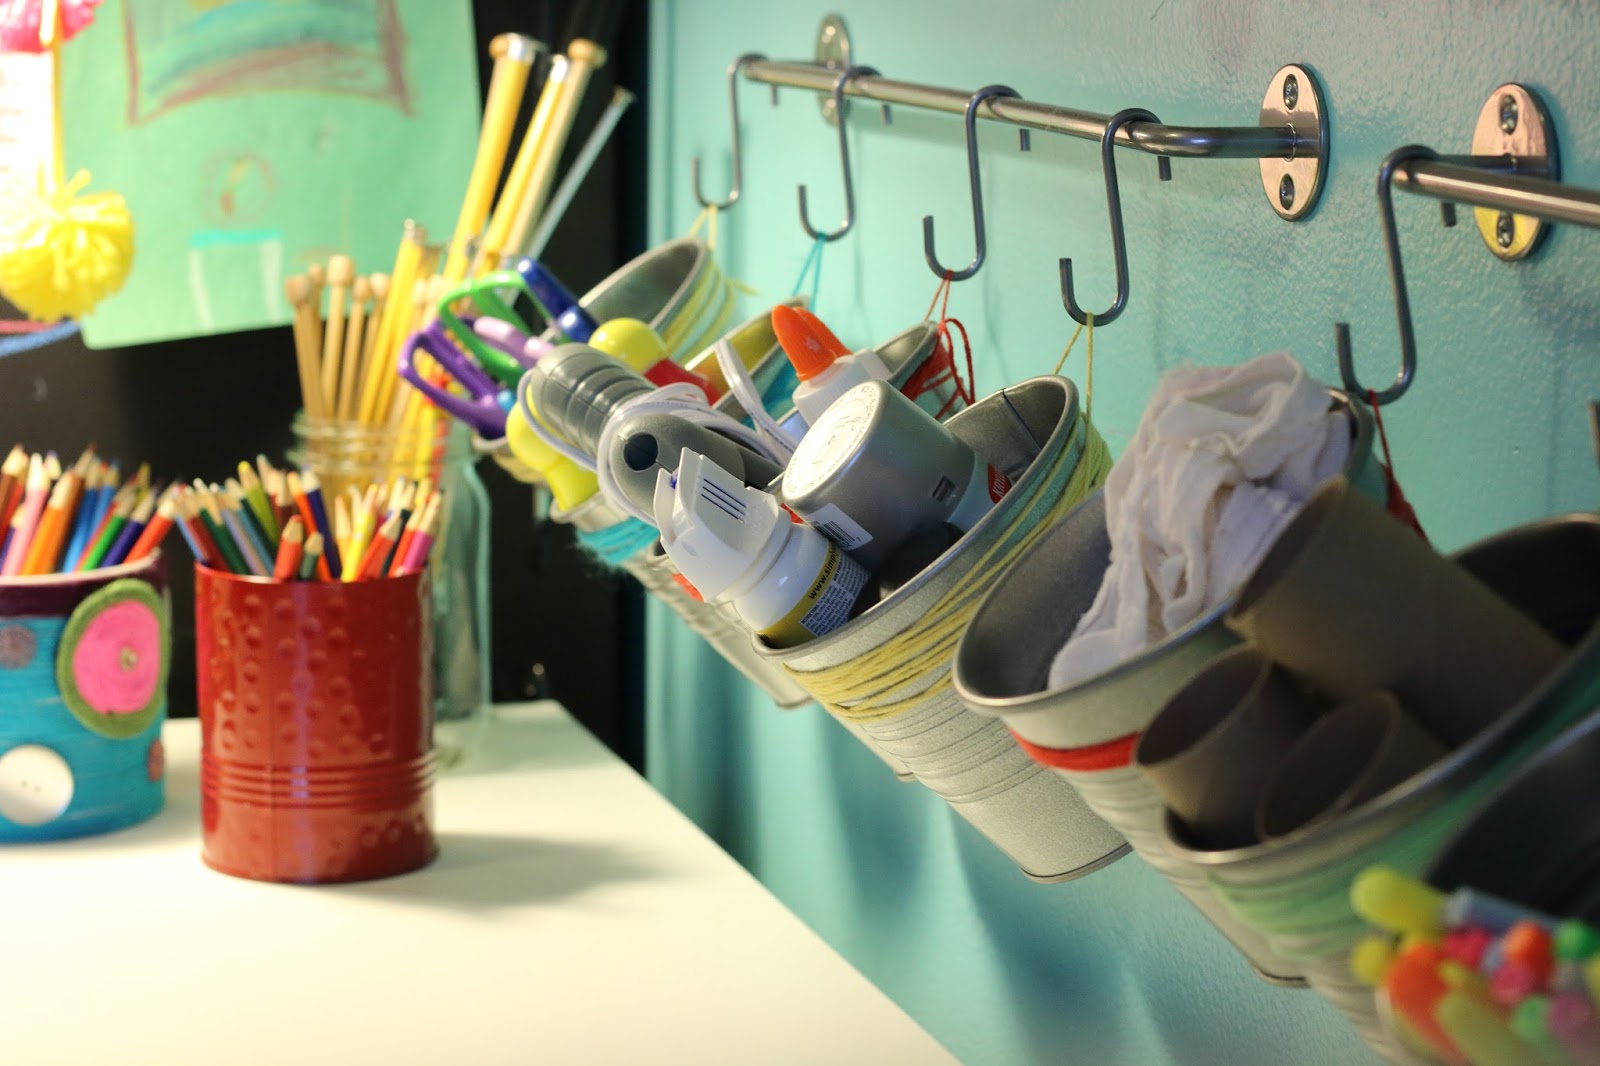
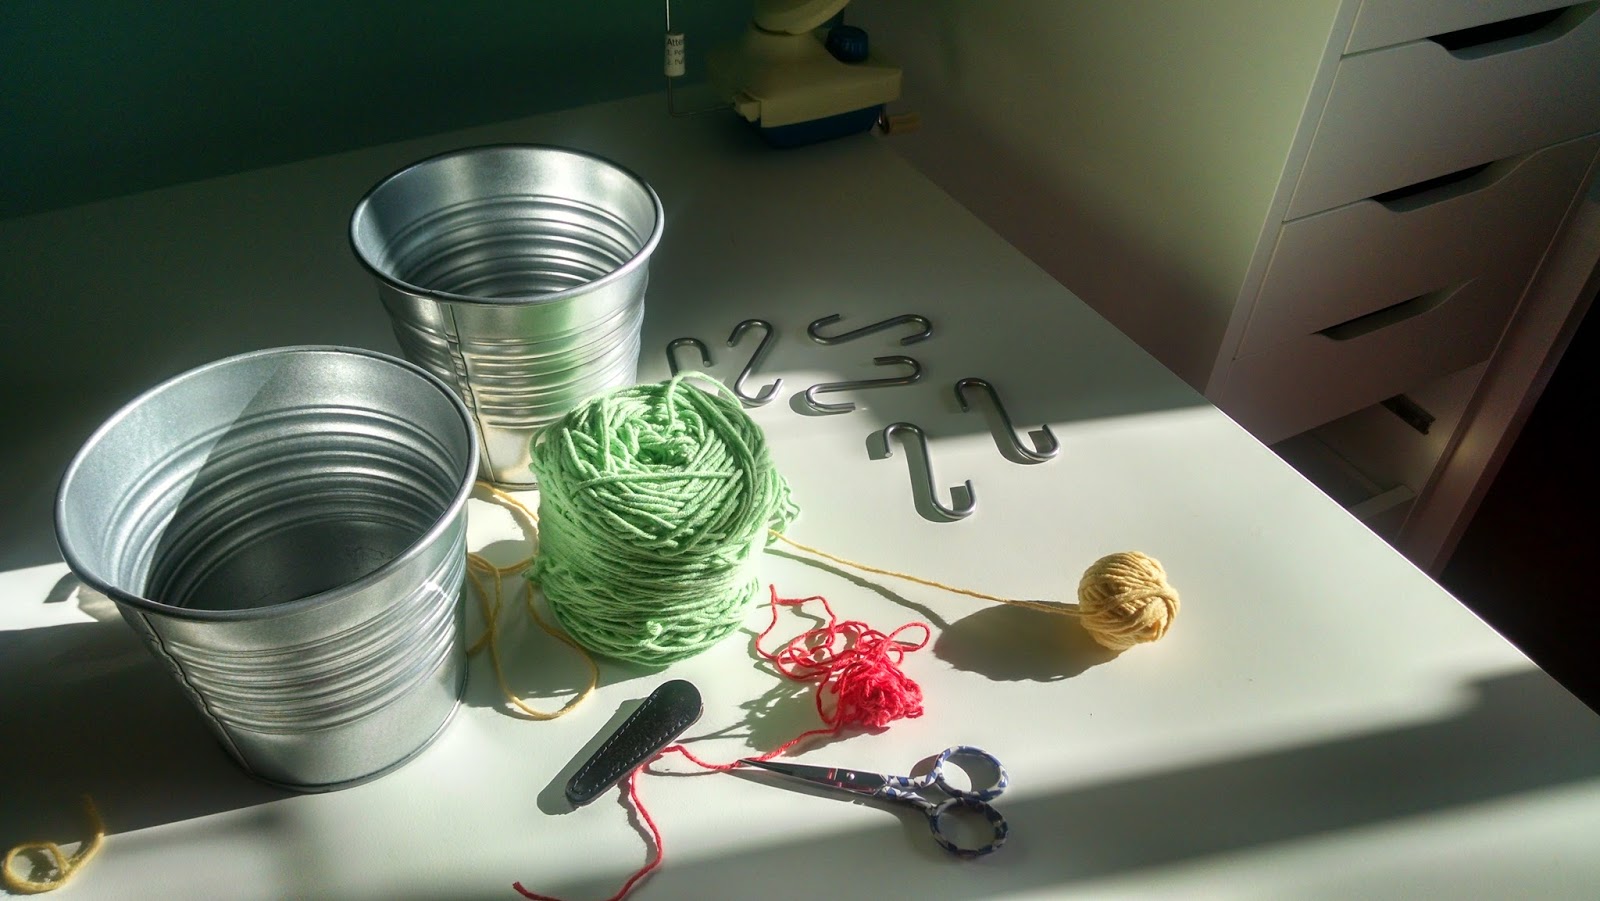
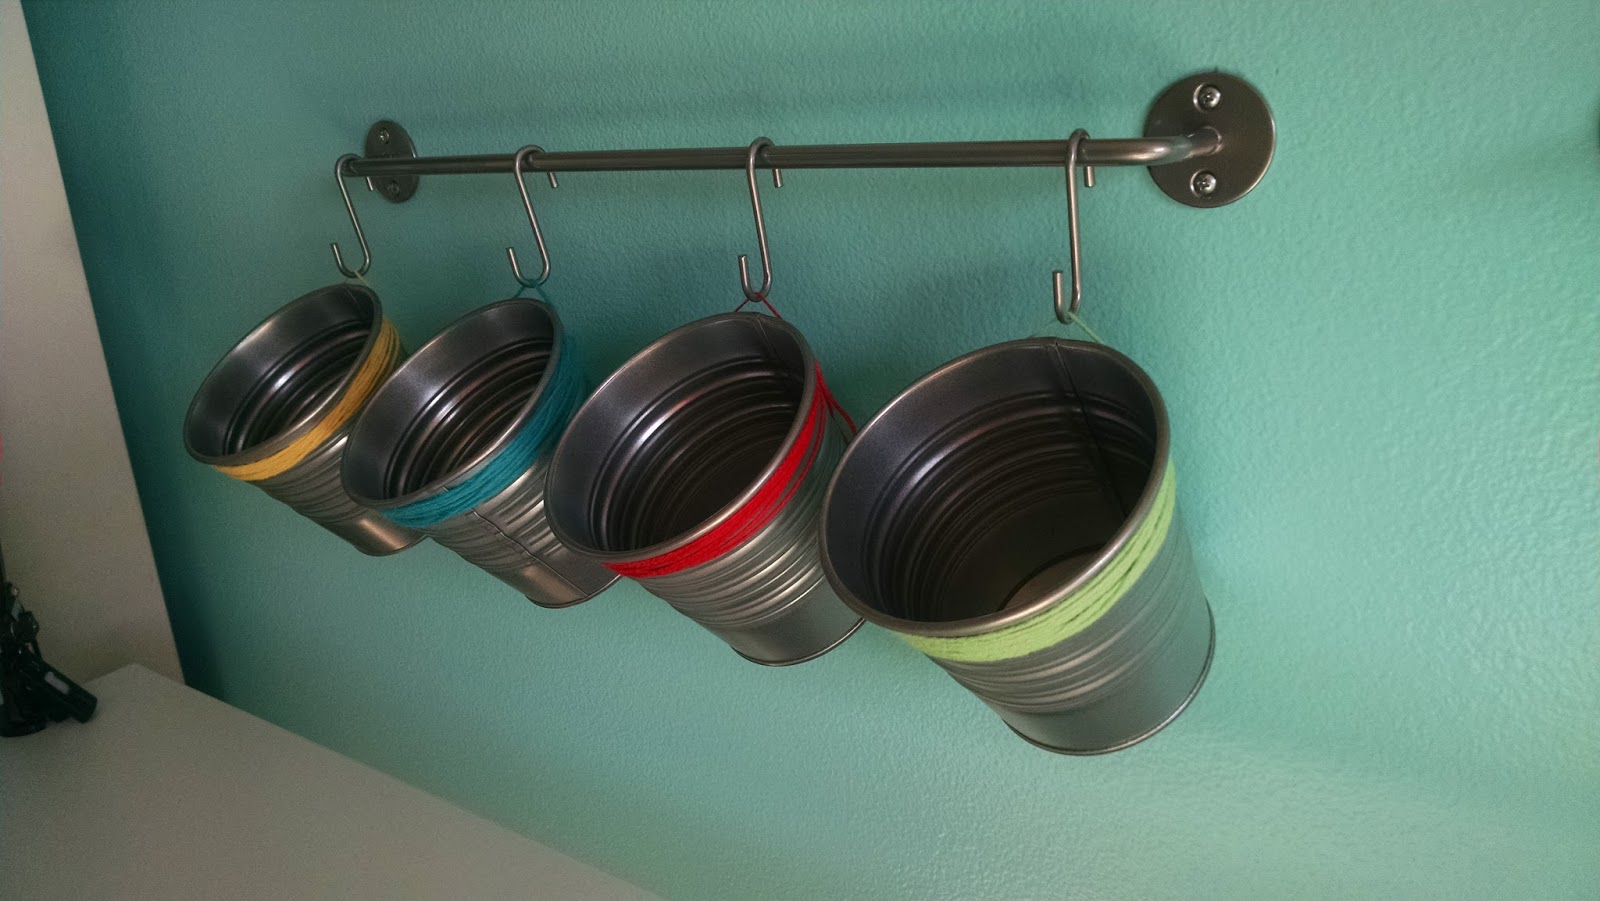
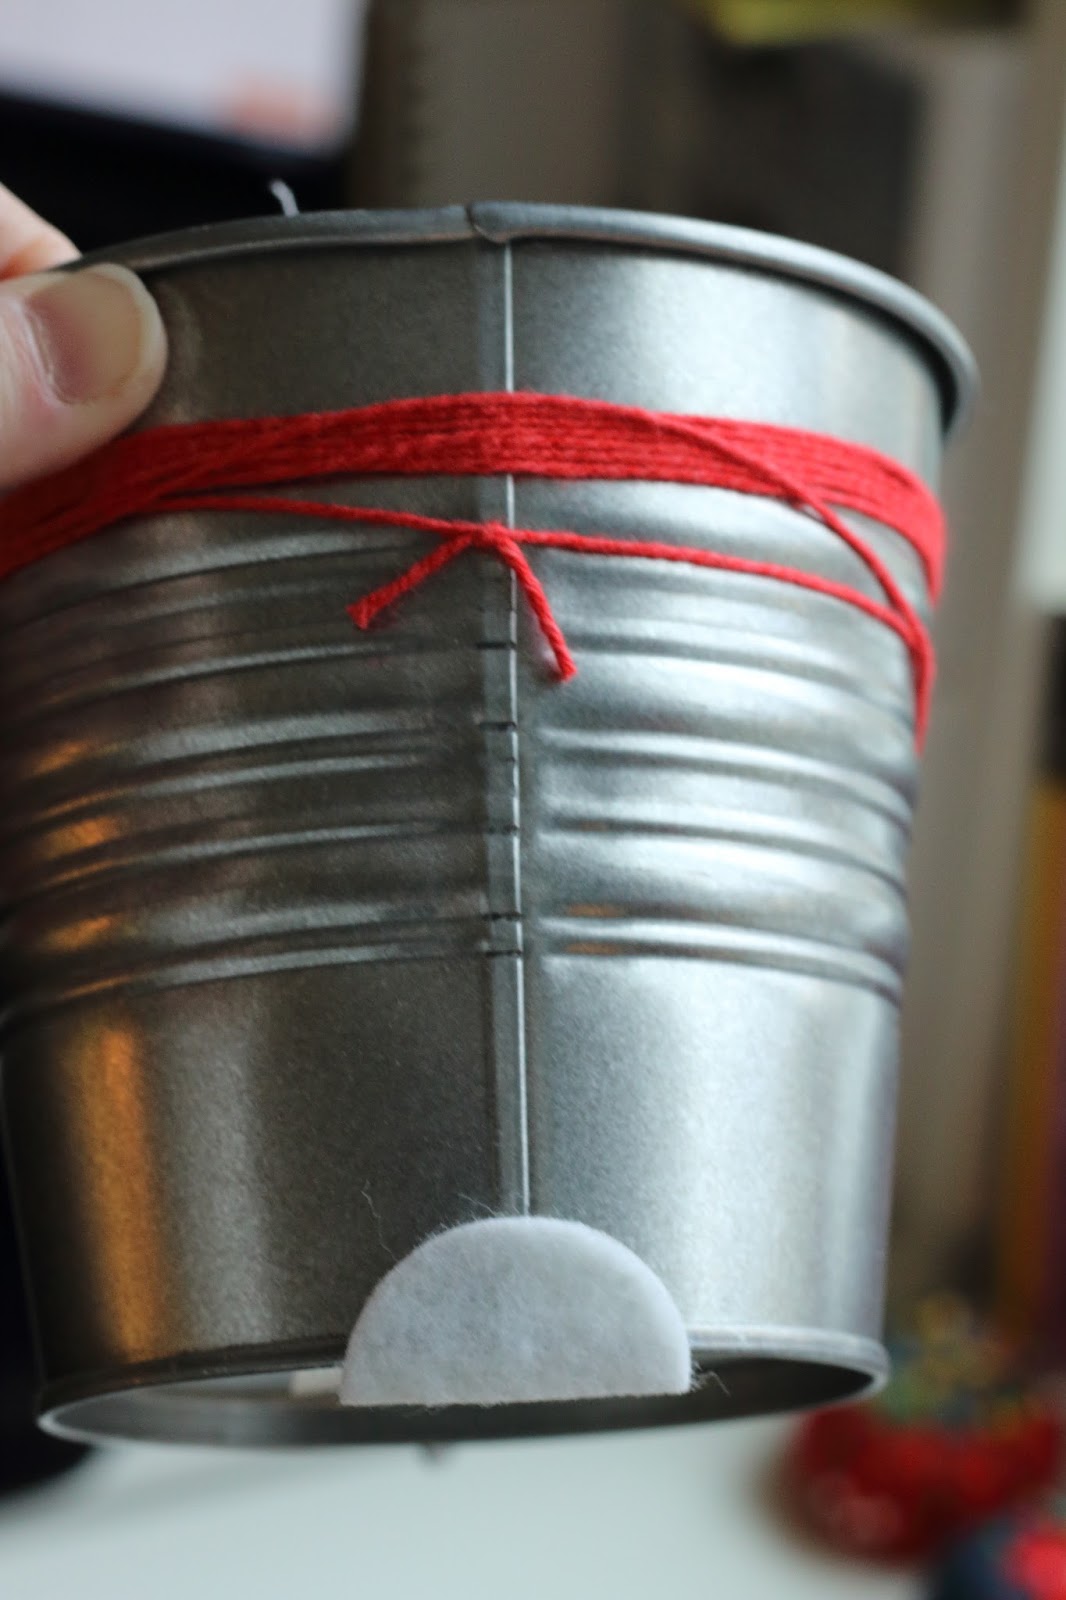
Next, we'll talk about those little pails on the walls--yes, they are from IKEA.


